6 Canva Basic Tips For WordPress Beginners in 2021

Whether you’re a web designer or you are your company’s social media person, you will need to create images, posts, ads, etc, a lot of fun things. We used to use Photoshop to create our photos, and recently we switched to Canva for most of our image design tasks, such as social media posts, blog posts, Youtube videos. It is a great and powerful cloud based design tool.
What is Canva?
Canva is a tool loaded with enough easy-to-use features and functionality that anyone can create a variety of engaging content that gets shared.
Check out this article, What is Canva and How Do I Use It For My Business? for more information on Canva.
We want to share 6 Canva Basic tips with you in this blog post. We found they are very helpful and we use them a lot in our daily content creating processes.
When you sign in to your Canva account, you will find a lot of templates for presentation slides from which you can create a lot of content-rich presentations. However, for the rest of the world, Powerpoint is still the largest presentation program. So how to create a presentation in Canva and transfer it to PowerPoint format so you can easily show it to others? We will show you two methods to do it:
Method One
- Step one: Create a Presentation in Canva
- Step two: Download it in PDF format
- Step three: Open the download file With Acrobat DC and export it to Microsoft Powerpoint
- Step four: Open the newly exported file in Microsoft Powerpoint
Method Two
- Step one: Create a Presentation in Canva
- Step two: Download it in PNG format
- Step three: Create a blank presentation in Microsoft PowerPoint
- Step four: Insert each image as a new slide until all the images are inserted
Go to the end of this post to see how we do it in our Youtube video.
We use GIF images in our blog tutorials. You can find them in this blog post. So what are GIF files?
In its simplest form, a GIF (pronounced “gif” or “jiff”) is just an image file. Like the JPEG or PNG file formats, the GIF format can be used to make still images. But the GIF format has a special feature—it can also be used to create animated images. GIFs aren’t really videos. If anything, they’re more like flipbooks. For one, they don’t have sounds.
We are going to show you how to create GIF files in Canva and use them in WordPress in three steps.
Step One: Create a GIF file in Canva
First, go to your Canva dashboard and search for animated social media design.
Then create a blank animated social media design. We are going to create a countdown gif as an example. When you create a countdown timer, remember to change the time to 1 sec. After you create the first page, copy that page nine times, and change the number accordingly. Finally, add one final page for the firework sticker. Change the time duration for this page. Don’t forget to download the design in GIF format.
Step Two: Preview the GIF file
Use your browser to preview the GIF file, make sure everything looks right.
We use Google Chrome to check the GIF effect to make sure everything looks like what we want. Then we can import it to WordPress.
Step Three: Add this GIF file to WordPress
The purpose to create this GIF is that we can use it on our WordPress website. So the last step will be to add this GIF file to a WordPress site. First sign in to the backend of your WordPress site. Then create a new WordPress page and create an image block. Import the GIF you created earlier and preview the result.
Go to the end of this post to see how we do it in our Youtube video.
Sometimes, instead of adding a simple square or a rectangular image, we want it in a different shape, such as a social media headshot or the team images for your team webpage. Or maybe you are creating a card for your friend in Canva, and you want to crop it into a heart shape.
How can images be cropped into a circle shape or other shapes in Canva?
- Step one: Create a new design in Canva, and load the image you want to crop into your design.
- Step two: Find the circle frame in the elements menu on the left.
- Step three: Resize and adjust the Circle frame to suit your needs.
- Step four: Select the image and drag and drop it into the circle frame.
You can find other frames to crop images in different shapes following the same steps above. Go to the end of this post to see how we do it in our Youtube video.
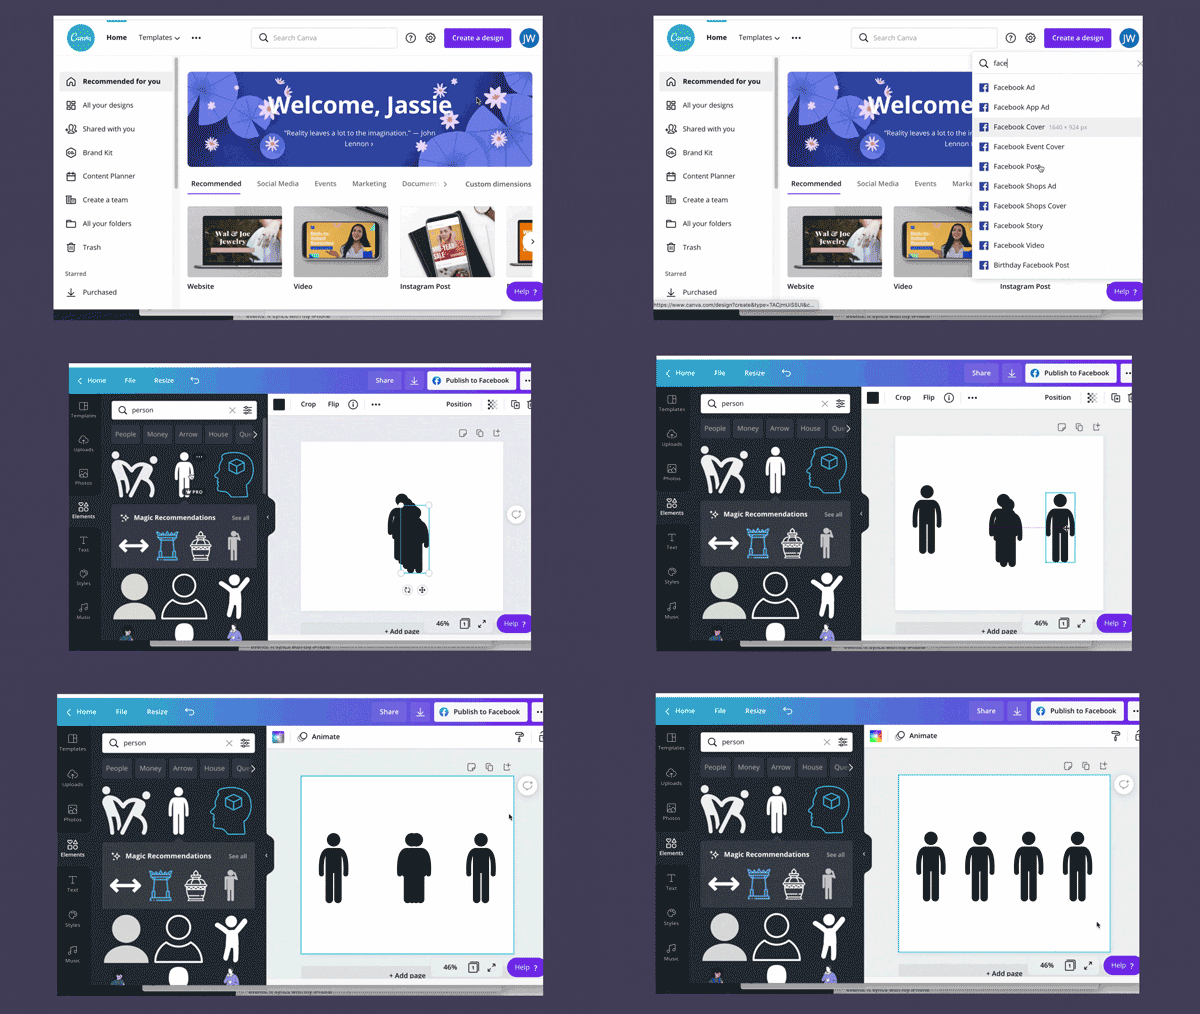
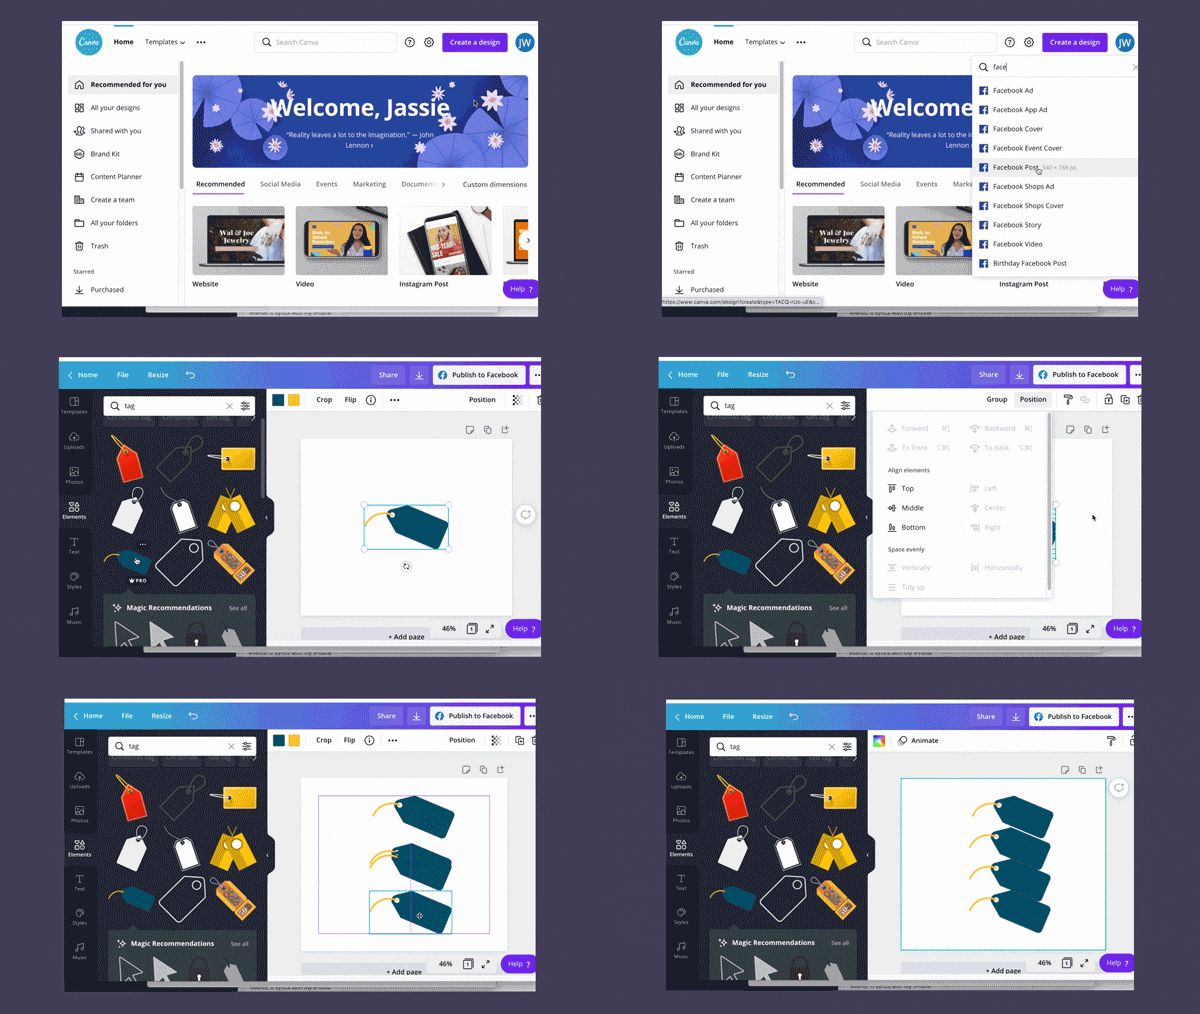
First, how to horizontally align your elements.

Second, how to vertically align your elements.

When you create a designed presentation in Canva, did you know you can embed them in WordPress? Even better, when any changes are made in Canva, it will update the one in your WordPress site automatically. Now, do you want to publish your Canva design to your WordPress site? If so, do these steps:
- Step one: Create or open an existing design in Canva.
- Step two: On the top corner of the editor, click the ᐯ button.
- Step three: On the search bar, type “embed.” Click </> Embed.
- Step four: For your design to be embedded, it will be made public. Click Embed to confirm.
- Step five: Copy the Embedded Codes and go to WordPress Dashboard/backend (yourdomian.com/wp-admin)
- Step six: Locate to the page/post you want to add the Canva design
- Step seven: Switch to the Text tab and paste the embed code
- Step eight: Click Publish / Update
Go to the end of this post to see how we do it in our Youtube video.
The last tip we are going to share with you is a very basic but useful tip – how to remove image background in Canva. I still remember back in the day, we used Photoshop’s pen tool to outline objects in images, a time-consuming task. Now with Canva, it is really simple and easy, saving us a butch of time. Notice, you need to have a Canva Pro account to use this feature.
You can create great social media by mastering this tool. Here are the steps:
- Step one: Create a template for Facebook Post
- Step two: Upload an image to Canva
- Step three: Click the uploaded image and it will be added to your design
- Step four: Click the image, and choose “Effects” in the editor at the top, then Click Background Remover
- Step five: Resize the image and place it in the right place
- Last step: Now you can download the design or publish it on Facebook
We are sure these are many great tips for Canva. Feel free to share in the comments section. Don’t forget to subscribe to our Youtube for more tips and tricks in the future.
